Mill Ball Screw XY Axes Retrofit Kit

-

4 week lead time

When ordering your new Ball Screw Retrofit Kit, you will need to supply the following information for your current machine so we can ensure you receive the correct length of the ball screw for each axis:

  • *Will you be using Sherline’s CNC driver box?
  • Please also indicate if you have a manual machine or CNC

Product Description

Key Upgrade Parts

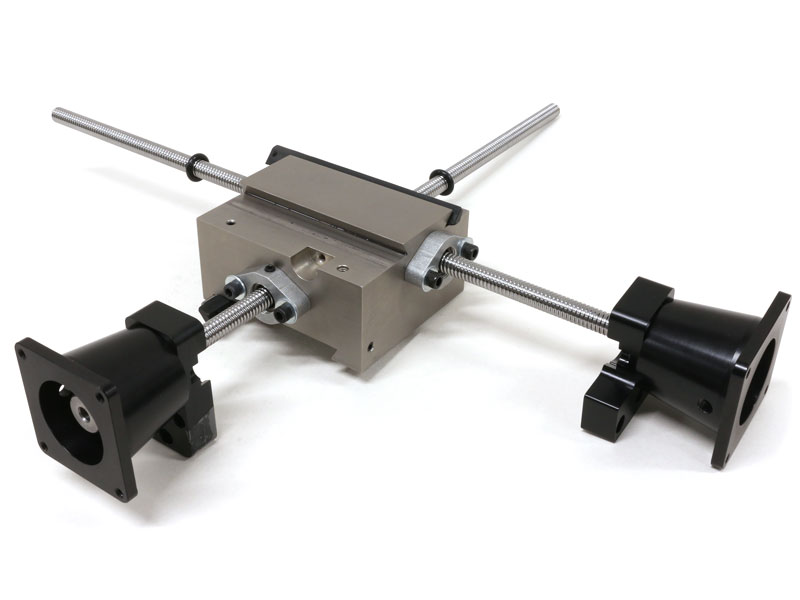
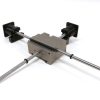
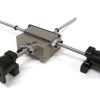
The key upgrade parts for this ball screw retrofit kit include ball leadscrews, stepper motor high-torque coupling, and the ball screw mill saddle (with nickel / Teflon plate).

Ball Leadscrew Specifications

  • Rolled Ball Screw with BSH Nut
  • 10mm Diameter, 2mm Lead
  • C7 Accuracy*, P1 Preload
    *C7 accuracy has a linear tolerance of 50 micrometers / 300mm or .002″ / 12.0″.

MILL COLUMN UPGRADE NOTICE: If you are upgrading your 12″ mill, you will need to order P/N 50054 Mill Column Base. The mill column base for the 12″ Ball screw machine has an additional 1/2″ through-hole to accommodate the larger ball screw and brass cover.

Regarding Retrofits

  1. The charge for all ball leadscrews is the same, regardless of the overall length. This is because the manufacturer does not give us a price break on the shorter screws (in fact, they wanted more for a 6″ ball screw). All screws come in at 400mm (15.75mm) long, and we cut them to length to fit the individual machine axis.
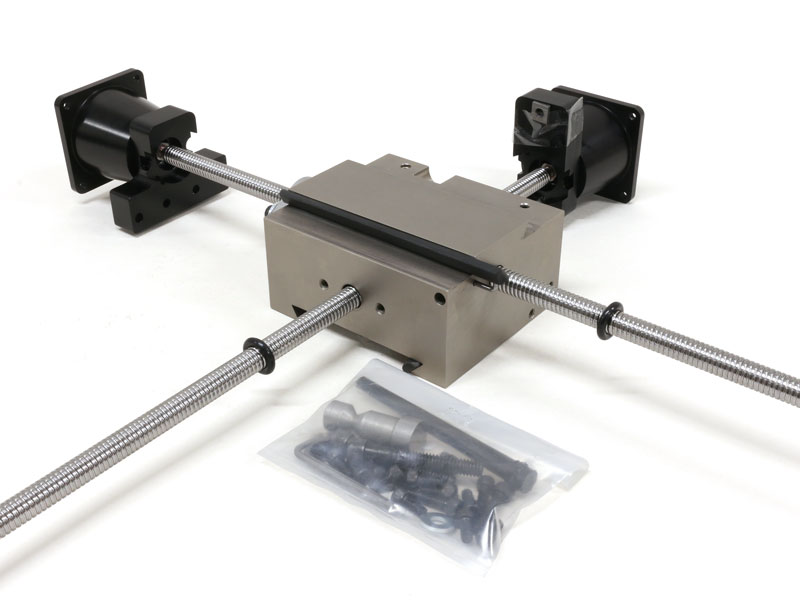
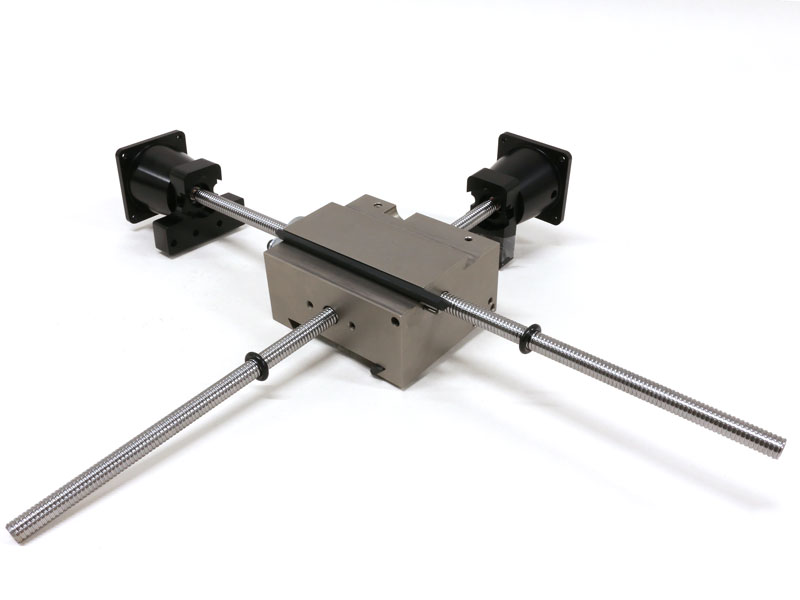
  2. All retrofits come with the stepper-motor mounts, high-torque couplings, bearings, preload nut, and ball screw fully assembled in our factory. We do not sell these parts individually for you to assemble.
  3. The ball leadscrew and the rest of the assembly are assembled and checked in our factory. We place an O-ring on the end of the ball screw, below the saddle, away from the motor mount. The O-ring is placed there to help ensure that the ball nut does not thread itself off the ball screw. If the ball nut threads off the ball screw, the balls in the ball nut will come out. At this point, the ball screw is scrap. There is no way to fix it! For this reason, the O-ring is to remain on the ball screw until the ball screw assembly is fully assembled on your machine. After you have assembled your ball screw on your machine, you may remove the O-ring.
    NOTE: On retrofits, the only way possible for your ball leadscrew to have excessive slop (backlash), is if some of the balls have come out of the ball nut. We will not replace ball leadscrews that have excessive slop (backlash)!

warning-symbol
The improper use of machine tools and their accessories can result in serious injury. Before using this tool, thoroughly read the instructions and make sure you understand its proper and safe use.

safety-glasses-symbol

Always wear safety glasses when operating machine tools.

Download PDF Mill Ball Screw Retrofit Instructions

Instructions PDF Download

Download PDF 6810 Exploded View

Instructions PDF Download

Download PDF Ball Screw Mill Unpacking and Assembly Notice

Instructions PDF Download

Download PDF 5920/5958 Ball Screw Way Cover Instructions

Instructions PDF Download

Download PDF Ball Screw Upgrade Benefits

Instructions PDF Download

Download Lubrication for Ball Screw Machines PDF

Instructions PDF Download

Download Ball Screw Lubrication PDF

Instructions PDF Download

Retrofitting a Sherline Mill with an X/Y-Axis Ball Screw Saddle

Aligning the Ball Nut to the Stepper Motor

5855 Mill Accordion Way Cover Set for Ball Screw Mill Saddle (*See NOTE below)
54175/13″, 54185/18″ Ball Nut Leadscrews 10 x 2mm, X-Axis (cut to length for mill table)
54162/12″, 56162/14″, 56195/18″ Ball Nut Leadscrews 10 x 2mm, Y-Axis (cut to length for mill base)
67101 Stepper Motor Mount (with 3 mounting holes)
671052 CNC Coupling
67120 Stepper Motor Preload Bearings
67115 5-40 x 7/8″ SKT HD Cap Screw
67111 8-32 X 7/8″ SHCS
67106 CNC RH Coupling Preload nut (course)
58910 Mill Saddle W/oiler and (Electroless Nickel w/Teflon plated)
50930 Mill Saddle “Oiler Cap”
50920 Mill Saddle Oiler Body
58510 Y-Axis Motor Mount Adapter
58511 X-Axis Motor Mount Adapter
58508 X/Y & Z Ball Nut Mount
42145 X and Y-Axis 1-5/8″ Handwheel (2mm laser engraved lines)
40980 Gib
40820 Gib Lock
58195 Y-Axis Brass Cover Tube #8137 7/16″ x .014 wall x 13.50″ long (Cost $2.00 ea.)
40690 10-32 x 3/4″ SHCS
40660 #10 Washer
58512 Ball Screw Template Y-Axis
58513 Ball Screw Template X-Axis
Optional additional upgrade parts are:
67126 Stepper Motors 2-Amp High Torque
3455 X/Z-Axis 2-1/2″ Adjustable Handwheel (2mm laser engraved lines)
50054 Ball screw mill column base for (replaces P/N 50050 on 12″ base mills)

*NOTE: Your machine MUST have one of these on the front side of the mill saddle to keep chips off of the ball screw! The Y-axis brass cover tube P/N 58195 will protect the back side of the ball screw. If you decide that you don’t want a cover on the back side, that is your option. However, there must be one on the front side.

For optimal performance, we recommend using the High-Torque Stepper Motors with our Ball Screws.